Queue - Scheduling Request Handoff Forms
Last updated: February 26, 2026
TL;DR: GoodTime's scheduling request forms allow you to build out a custom form to collect key information as part of a scheduling request or 'Queue' process. Typically this process sees a Recruiter fill in the form as they push a candiate forward in the interview process, but are handing off the scheduling responsibility to a dedicated scheduling team or Recruitment Coordinator via the Gt Queue workflow. Of note, you can use the GoodTime Queue process without building a custom Scheduling Request Form; however, creating a form can help streamline this queue / handoff process by ensuing that the correct information is collected every time.
Introduction
Welcome to the Scheduling Handoff Forms feature! This powerful tool allows recruiting teams to create custom forms to be used by recruiters during the handoff process. This article will guide you through creating and utilizing these forms effectively.
Accessing Scheduling Handoff Forms
- Navigate to Settings: Go to the Settings page of your account.
- Locate Forms Section: Under the forms section, click on Scheduling Request Forms.
Creating a New Handoff Form
- Start a New Form: If this is your first time here, the section may be empty. Click on the button to create a new form.
- Name Your Form: Give your form a descriptive name. For example, "APAC Region Handoff Form".
- Organize with Folders: You can place your form in a folder for better organization, although this step is optional.
Adding Questions to Your Form
- Add a Question: Click on the button to add a question from our question bank or create a new one on the fly.
-
Choose Question Type:
- Multiple Choice: Allows recruiters to select one option.
- Checkboxes: Allows selecting multiple options.
- Short Answer: Free-form text input.
- Linear Scale: A scale between 1 and 10.
-
Example Handoff Questions to get you started:
- Is a Debrief Needed? (Multiple Choice: Yes/No)
- Candidate’s Level (Checkboxes: L1, L2, L3, L4, L5)
- Is a Slack Channel Needed? (Short Answer)
- Set as Required: If the question is crucial, mark it as required to ensure recruiters provide this information.
Saving and Using Your Form
- Save Your Form: Once you’ve added all necessary questions, save your form.
-
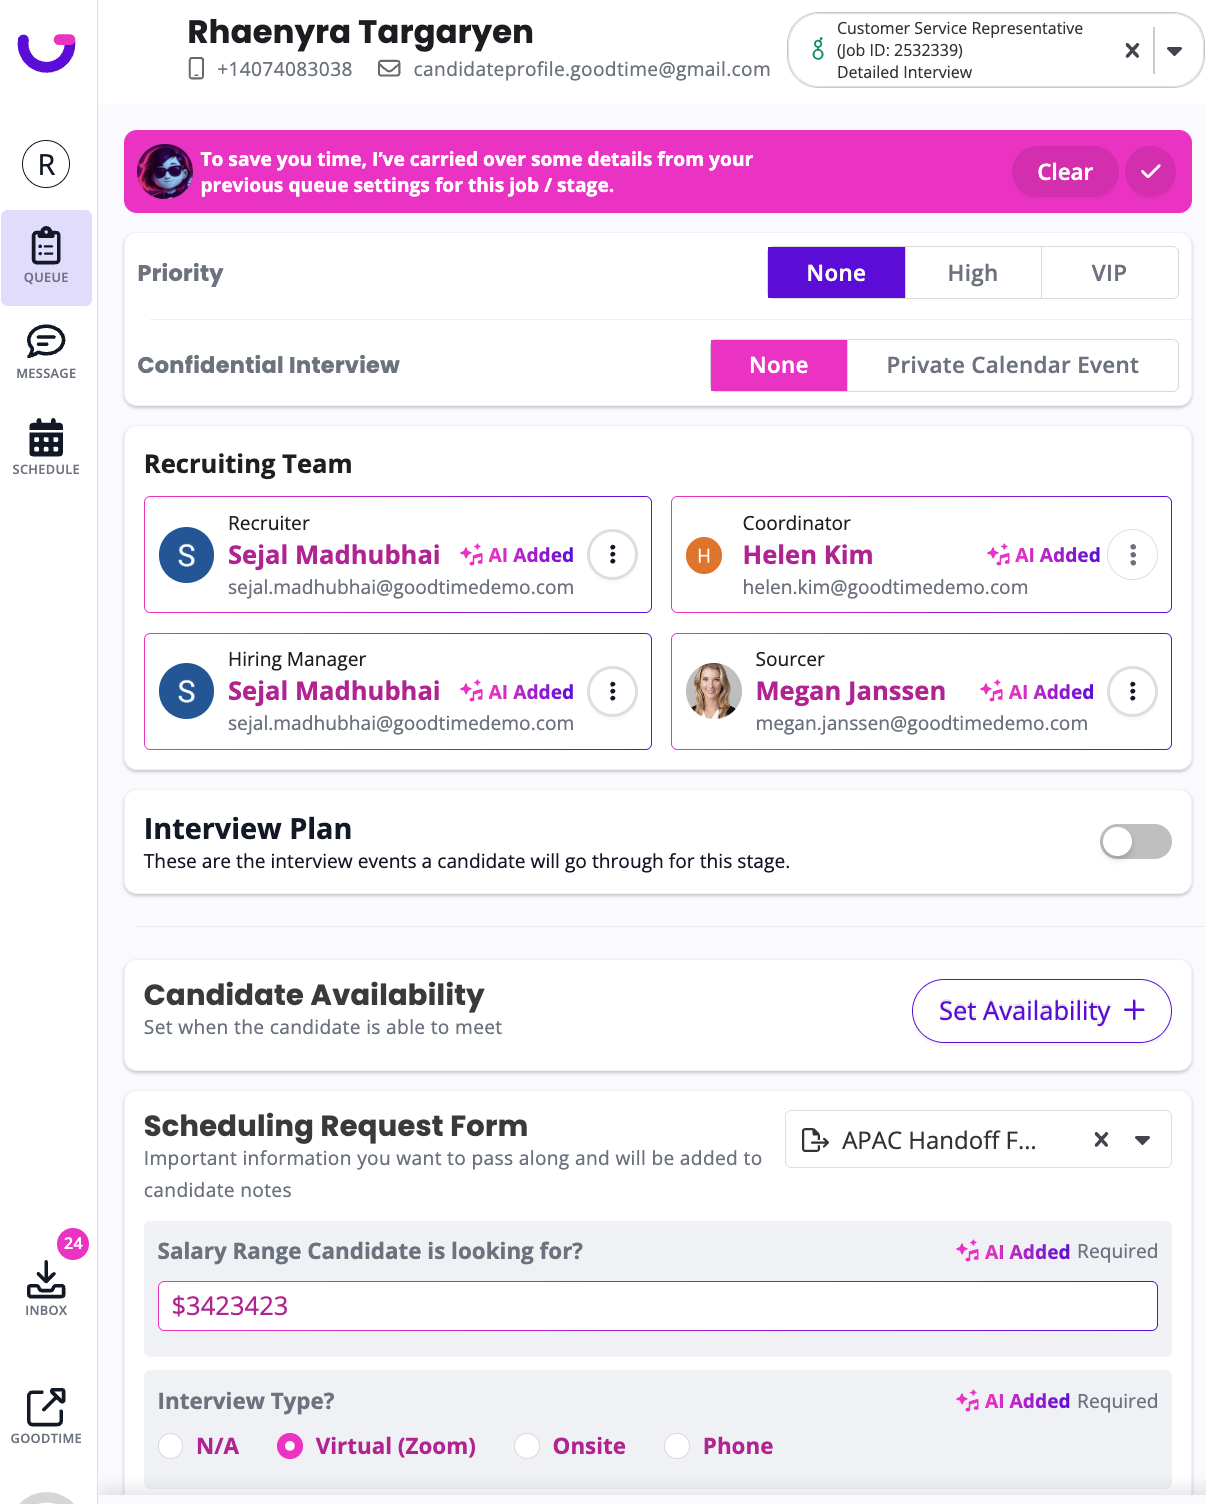
Queueing Up Candidates:
- When queuing a candidate for an interview, select your custom handoff form.
- Fill in the form with relevant information.
- Submit the form to hand off the information to your coordination team.
Streamlined Queue Workflow:
This powerful piece of automation helps to streamline the Queue and Handoff process via GoodTime remembering the data a user places into a Queue handoff workflow and then intelligently surfacing the data once again when we see a new candiate is being queued for the same role and stage as we have seen before.
🎥 Watch here for a video walkthrough of this new automated Queue Handoff workflow.
- Queue Candidate: Queue a candidate. Our system will intelligently remember prior handoff forms and data to automate the queueing process for recruiters and recruiting coordinators
- Fill in Information: A few button clicks and the coordination team has all the information to schedule their interview
- Queue the Interview: Queueing the interview assigns it to the coordinator along with submitting the handoff form.
- Schedule the Interview: The coordinator will see all the necessary details when opening the interview up in the side panel where the Notes live
By following these steps, you can efficiently create and manage handoff forms, ensuring a smooth and organized handoff process for interview scheduling.
What's the impact of using GoodTime Scheduling Request Forms?
- Allows required fields = no more missing information
- Recruiters: Avoid the tedious manual entry, as we have check boxes & multiple choice question options
- RCs: No more context switching back and forth between the schedule request & schedule - the scheduling request will pop out on to the left hand side of the screen to reference while you create the schedule